Use the handy set up guide below to get started with your Zaahn Ultra Chill.
Remove the water tank by twisting it so that the arrow on the right side of the unit is pointing to the unlocked padlock icon.
Fill the tank with water up to the max line. (Note: It is recommended that distilled water is used especially in areas with hard water. If you use tap water, the ultrasonic disc on your device will need to be periodically cleaned).
Attach the main unit back on and twist it so that the arrow is pointing towards the locked padlock.
Position the Zaahn Ultra Chill on a flat surface and plug the cord into the back of the unit and the other end into a USB outlet.
Let the water sponge absorb water for at least 1-2 mins after filling the water tank.
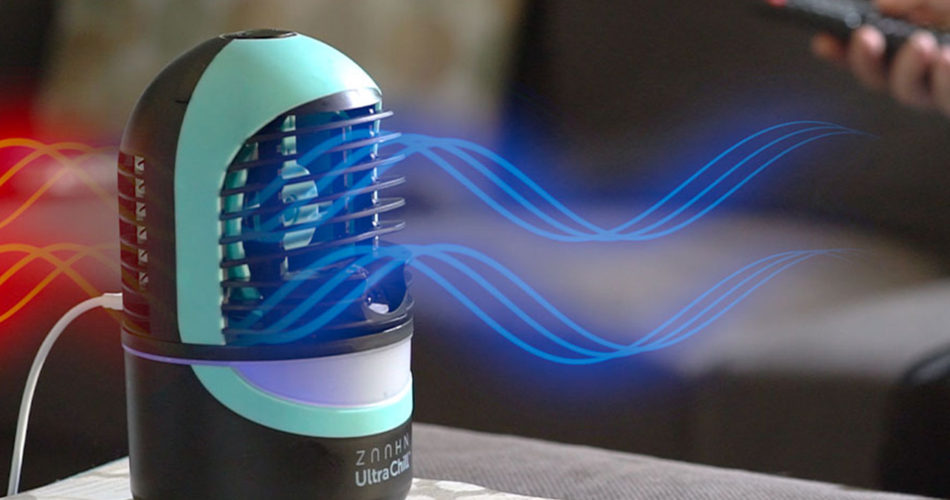
Use the multi-directional grills to adjust airflow to your preferred position.
Note: When the water tank runs out the ultrasonic mist maker will stop working and the mood light will flash red 5 times.
Need Other Helpful Guides?
Find all the other information you could need for your Zaahn Ultra Chill, including how to charge it, how to replace the water sponge and more.
- The Buttons
- Charging
- Aroma Diffuser
- LED Night Light
- Replace The Water Sponge
- Clean The Ultrasonic Mist Maker
- Water Tank
- Connect the Micro USB into the back of the Zaahn Ultra Chill.
- Plug the other end into a USB charging port or adapter that can be plugged into a power outlet.
- Charging takes approximately 3 hours and the mood light will appear blue and will change from dim to bright slowing and continuously. The blue light will then turn off once it’s fully charged
- Note: the rechargeable battery is not replaceable.
- Remove the cover with the aroma sponge compartment (top left side of the unit).
- Add a few drops of your favourite essential oil onto the sponge.
- Put the compartment back in.
- Note: Do not add essential oil into the water tank as this could damage the device.
- To replace the aroma sponge, simply remove the compartment, take the sponge out, put your desired one in and put the compartment back in the unit.
- Plug the USB night light into the top of the unit. It should turn on automatically.
- Make sure the device is plugged in.
- To turn it off, simply unplug the light from the unit.
- Make sure the Zaahn Ultra Chill is unplugged before you start.
- Remove the water tank from the main body.
- Remove the long black water sponge cover located under the main body by turning it 90 degrees and pulling the cover out.
- Replace the water sponge.
- Align the short slit on the water sponge cover with the long slit on the water sponge cover and push the long water sponge cover to lock the water sponge in place.
- Make sure the Zaahn Ultra Chill is unplugged before you start.
- Use a cotton swab and dip it into a mixture of half white vinegar and half water.
- Rub the outer and inner surface of the ultrasonic disc with the swab.
- In order to clean the inner surface, you will need to remove the water sponge as described in the replace water sponge section. Use cotton swab to clean the inside of holder once the sponge is removed.
- Always keep the water tank clean and dry when not in use.
- If needed it can be hand cleaned with soapy water, making sure it rinsed thoroughly.